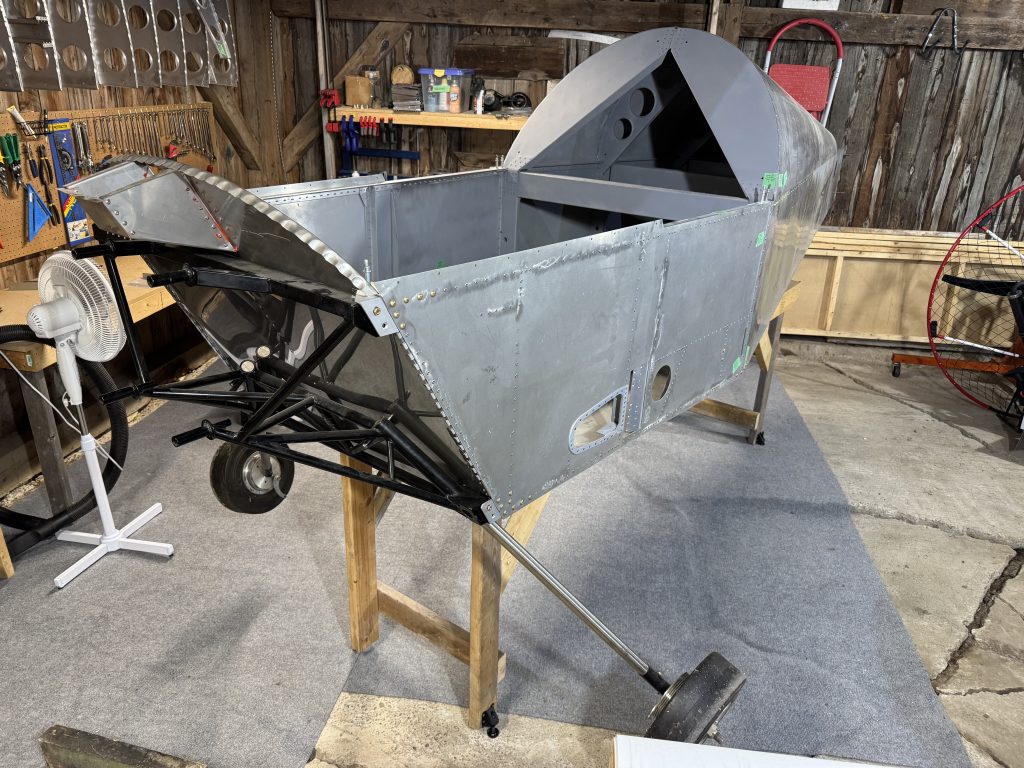
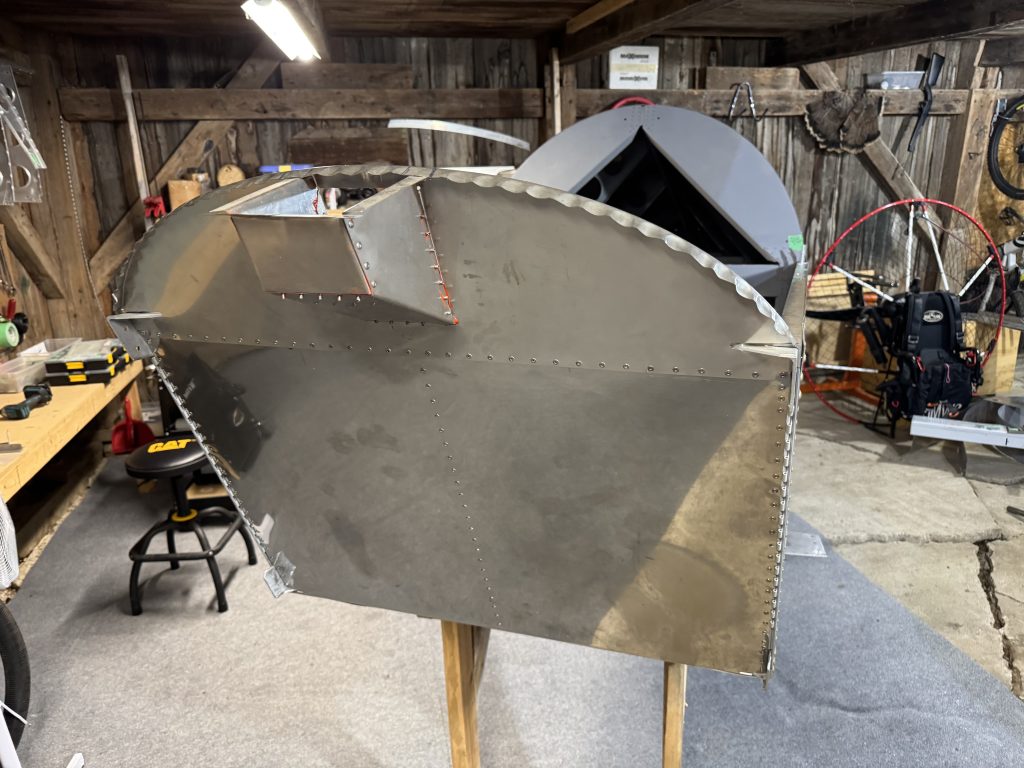
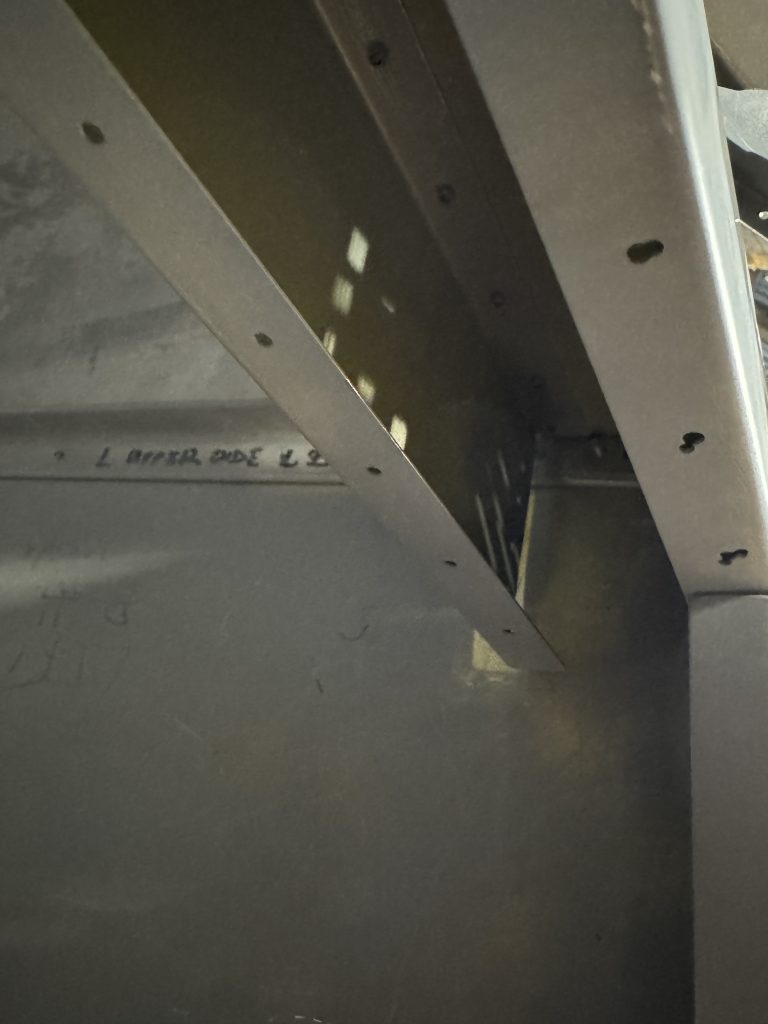
To fix the incorrect assembly of the side skins, to get at the poorly pulled rivet in the cross box, and to redo a few things in the front fuselage, the front of the fuselage had to be separated from the rear. It was not fully attached but as some of the rivets were poorly done they were a lot harder to remove.


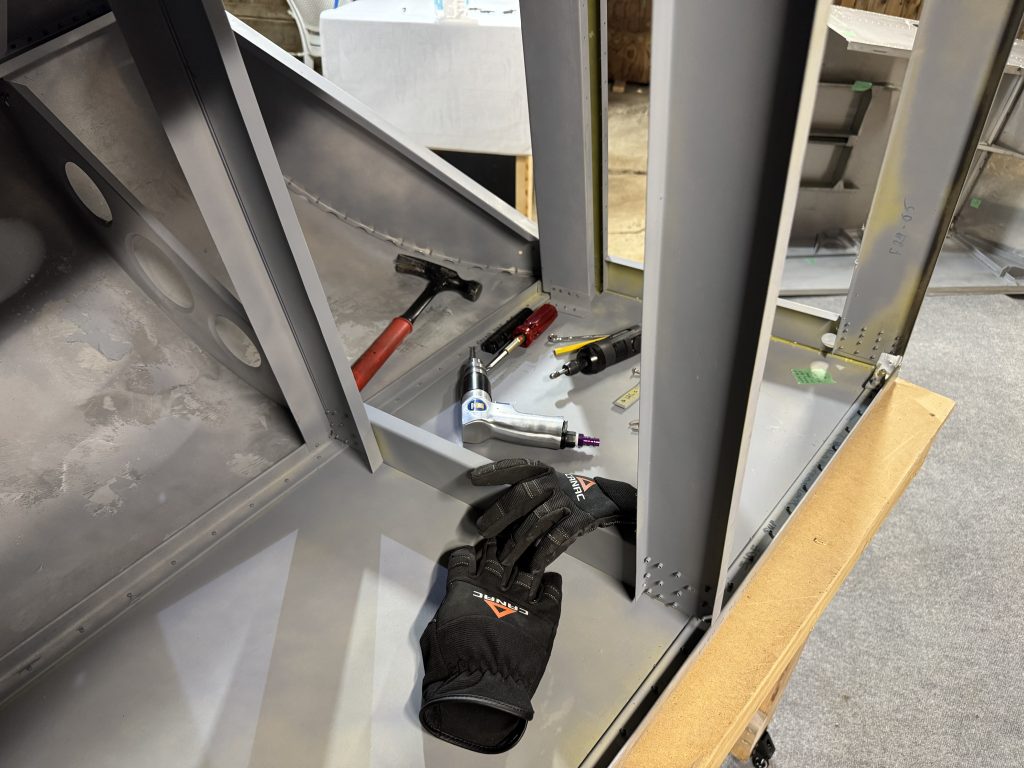

I am about 6-8 hours into this repair so far and there is still plenty left to do. Apparently this is what I wanted in a project. It does feel good to see the end result of the repair. However I still have to be very careful when undoing work as it’s easy to damage components, and they can be time-consuming and expensive to replace.
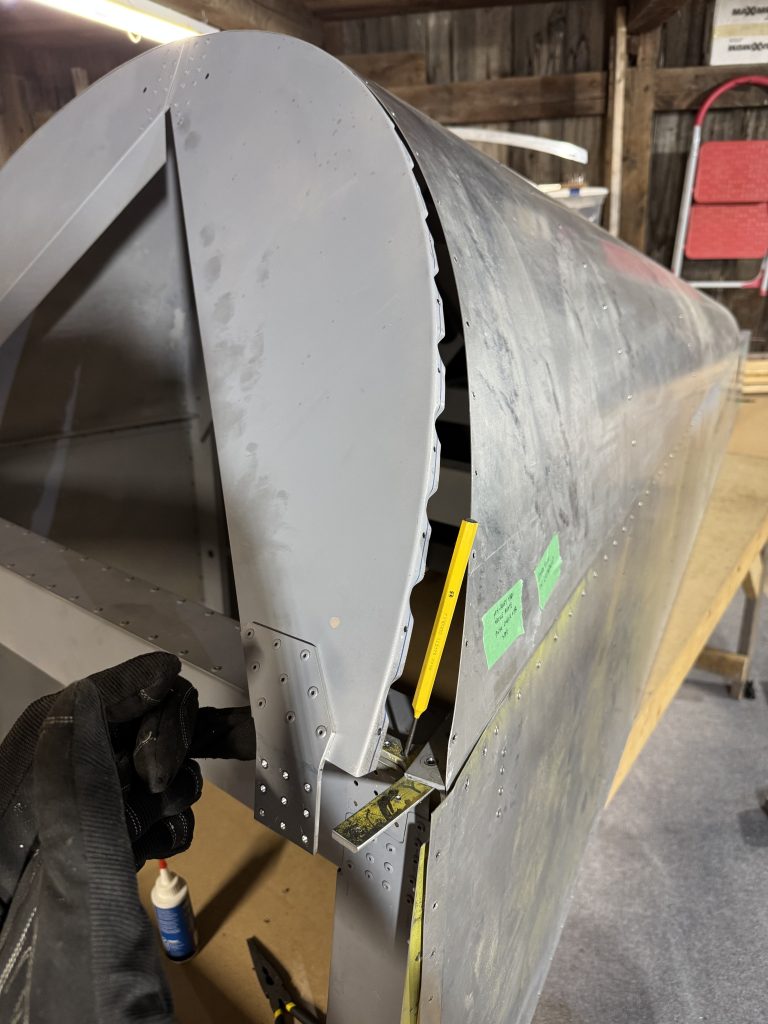
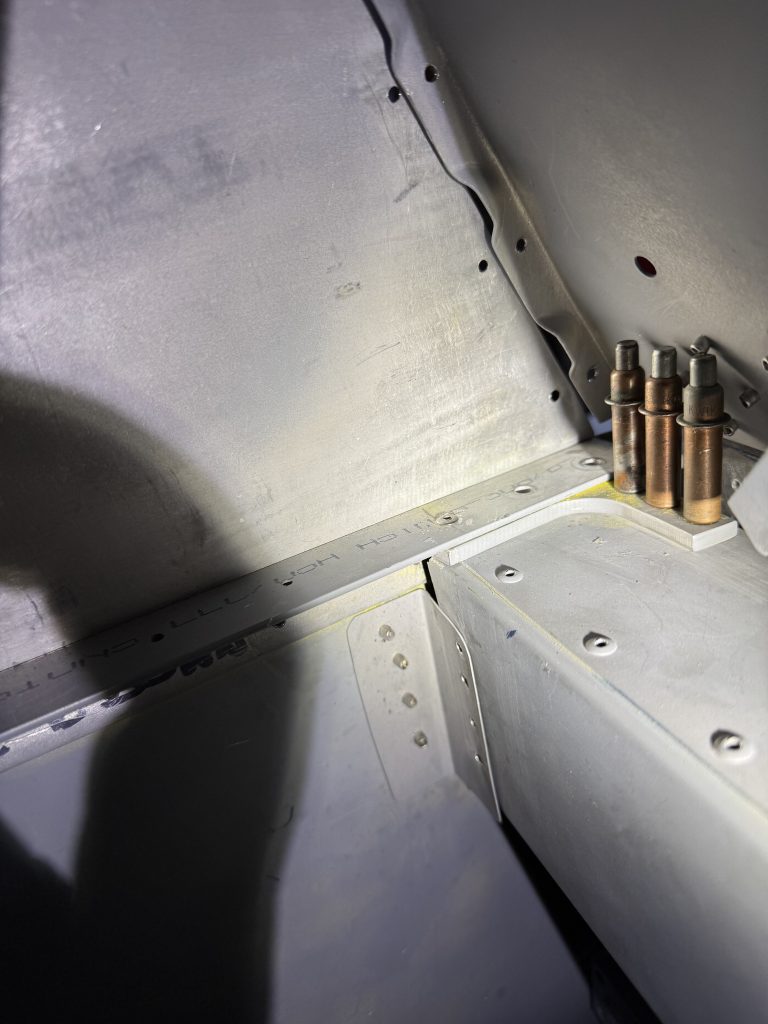
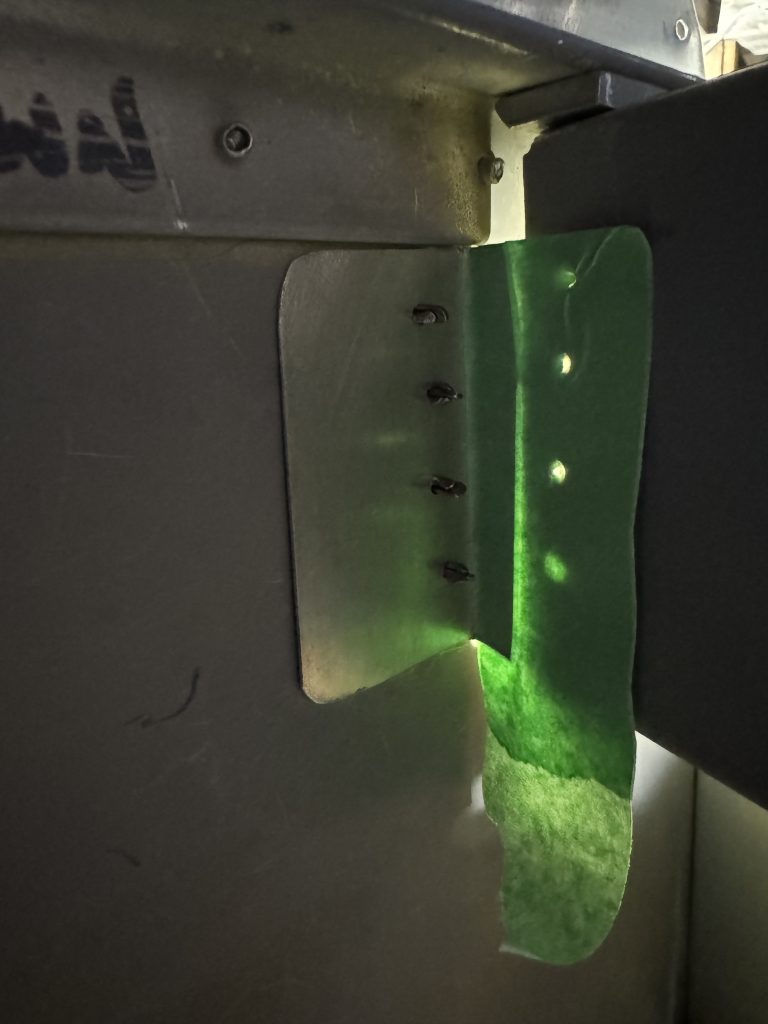
To redo the clip for the cross-box, I first tried marking or spraying paint from the inside to the outside, to mark the holes so I could drill them. This didn’t work as the inside of the box is too tight, so I had to think of something else.
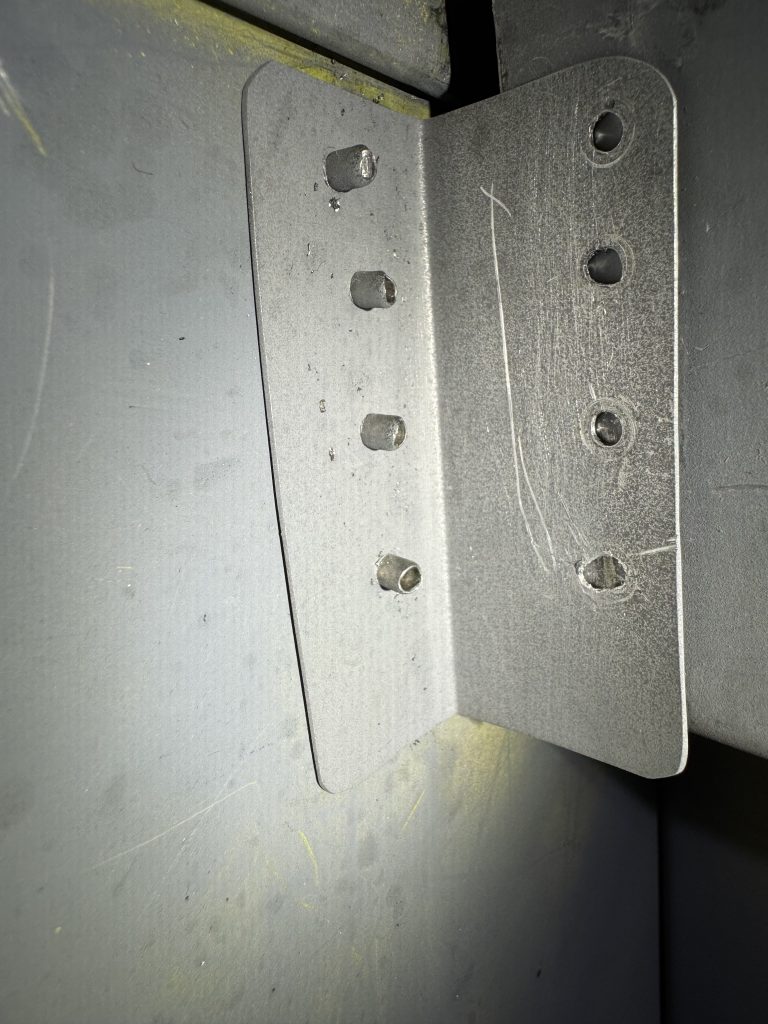
I ended up using a clip from a failed attempt. I made a template out of it. By shining a light through the rear the holes appeared, and I marked them with a sharpie.
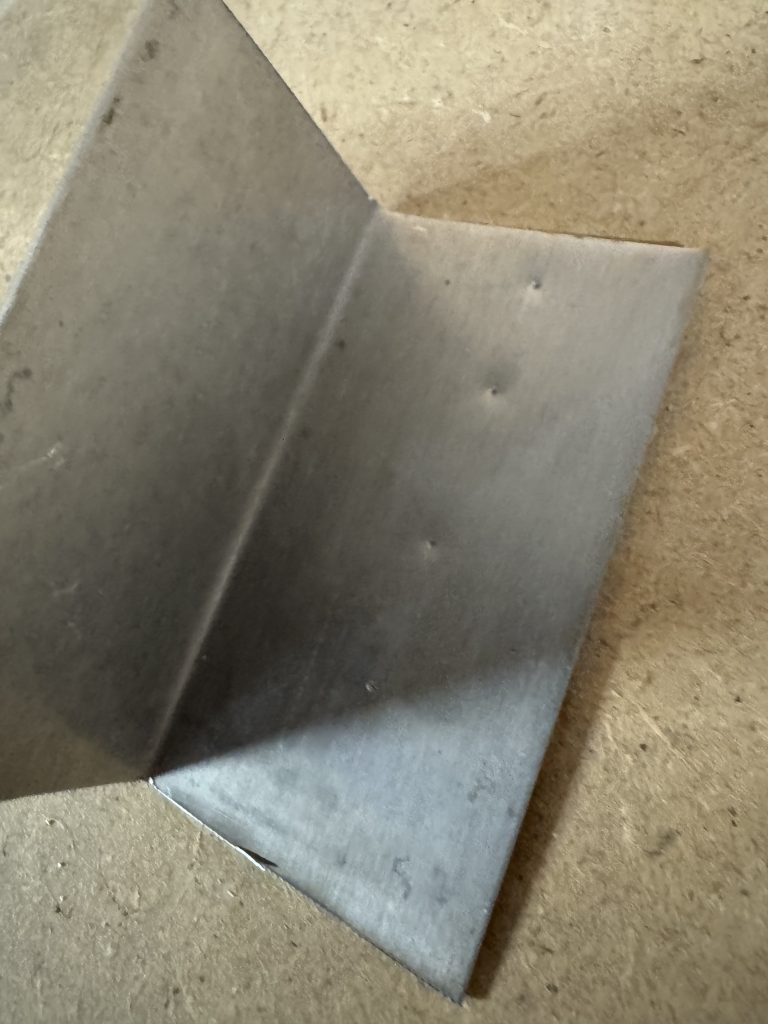

Success! My new clip fits. Once it is trimmed and finished it can be installed.
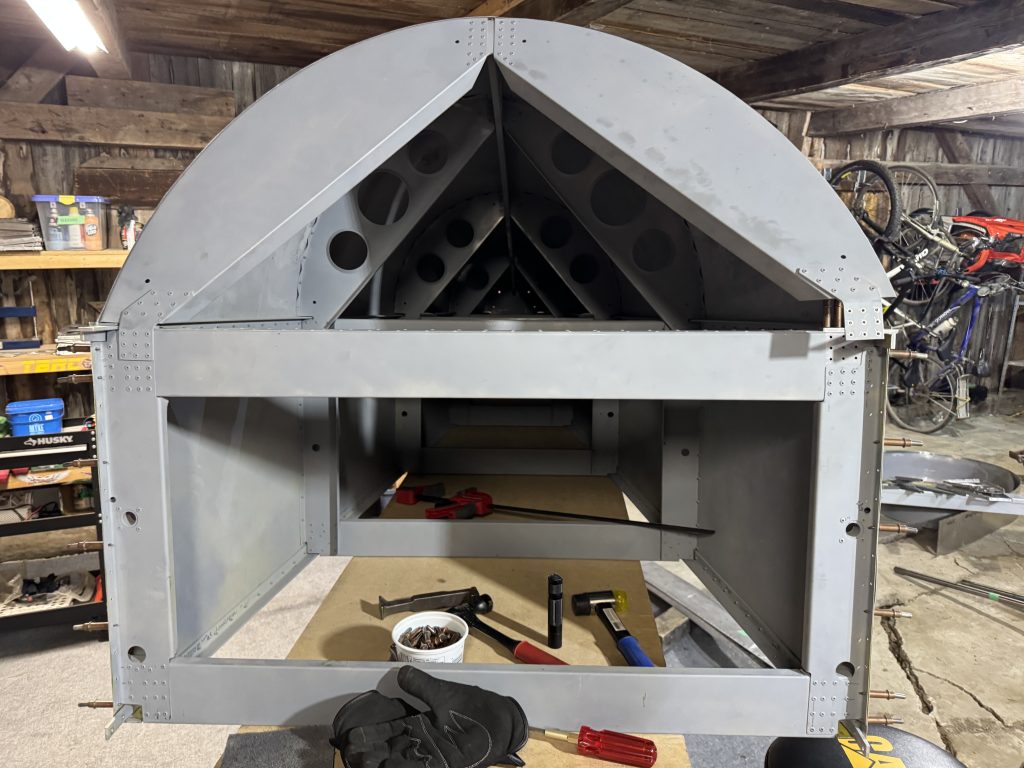
I started giving a thorough and methodical once-over to the remainder of the fuselage. The method is to start at base components and verify if they have been made and if they have been made well.
I wrote this post back in August and am posting it now as I returned to working full-time and started back at school. I’m hoping to spend some time on the airplane during the winter break and also bring it back into my daily routine next year.