-
Checking out the flaps and ailerons
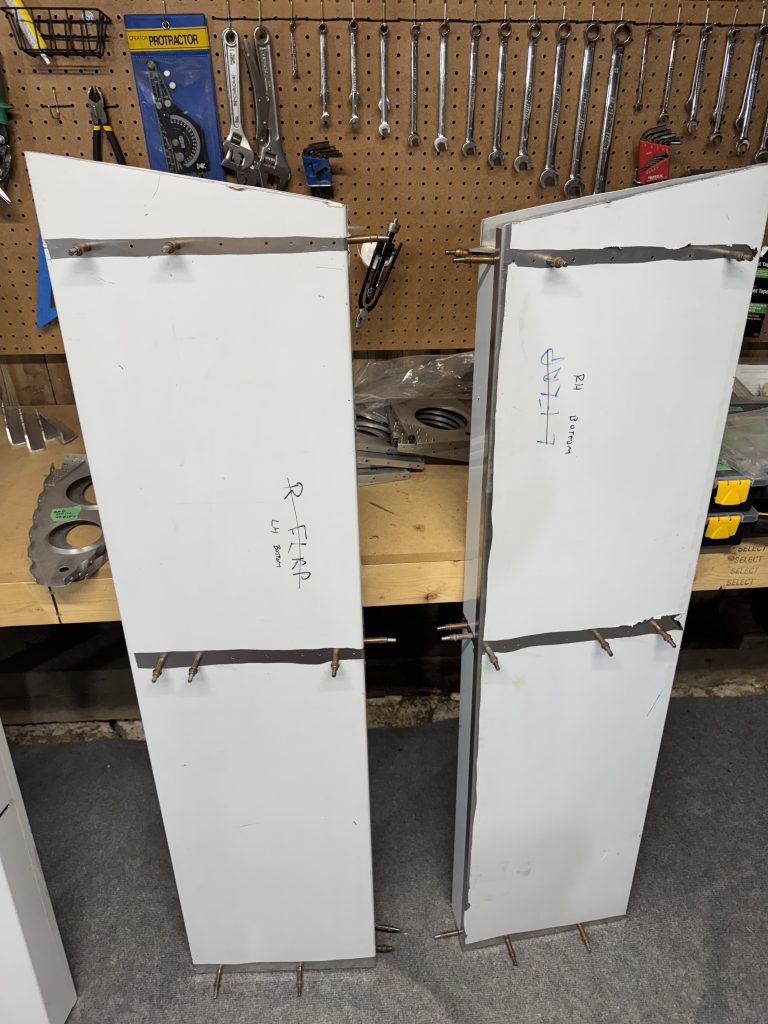
The kit came with two flaps and two ailerons partially built. They were conveniently set up for the larger sport ailerons, which I wanted to build as they add a fair bit of roll rate. The flaps are mostly done, probably because they are rather simple, though the edges will need to be dressed and there are a few misaligned holes that I will have to massage into place. I also found some spare flap ribs, probably because the kit was purchased to build the normal ailerons. The flaps should be a rather straightforward inspection, finishing, and riveting job.
I did a very thorough and careful inspection, of course, and noticed that the left hand and right hand flaps were mis-labelled. There are so many glowing errors made in this assembly it’s kind of incredible.
After taking them apart, I will have to replace all of the flap ribs, as several of the rivet holes are too close to the edge. Oh well.
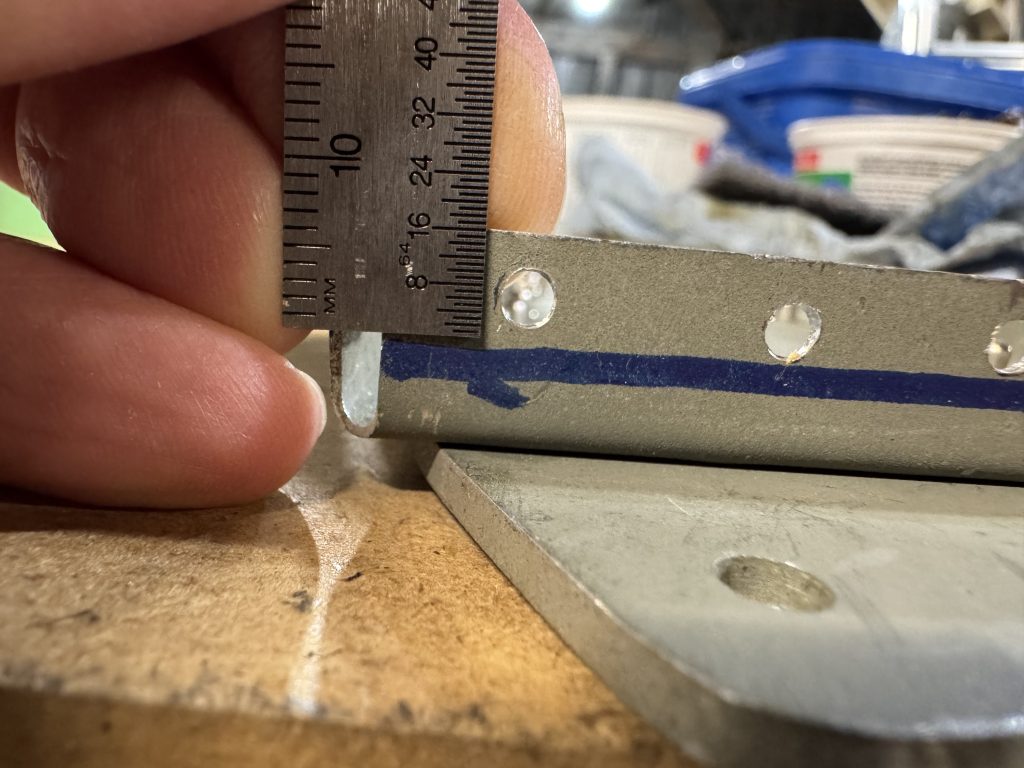
The rule is the center of the hole has to be at least 2 diameters away from the edge, or a 1/8″ rivet (the most common) has to be 1/4″ from the edge. Sonex does not give the builder a lot of margin here as most rivets are 1/4″ from the edge. At the same time, drawing straight lines is pretty easy.
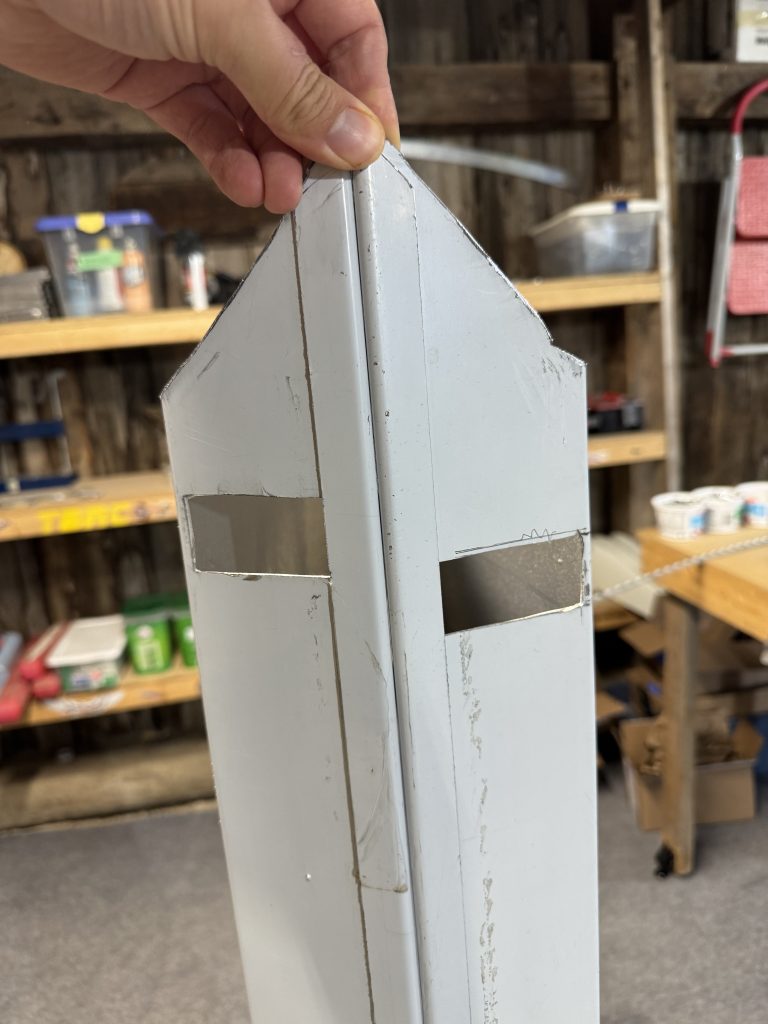
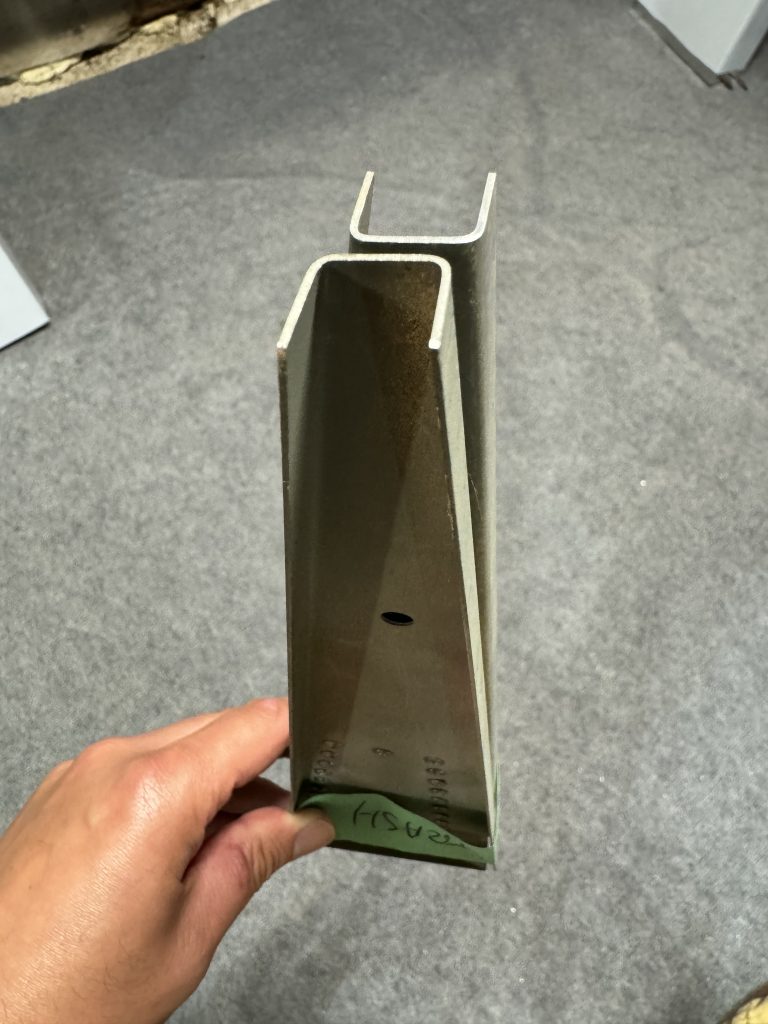
The ailerons are another story. They are built similar to the flaps, except the drive rib is doubled up and there is a counterweight on the outer end, plus a tip rib with some difficult angles. One of the skins had been cut rather well, but the other had its counterweight hole cut almost an inch inboard of where it should be. Another incredibly obvious blunder.
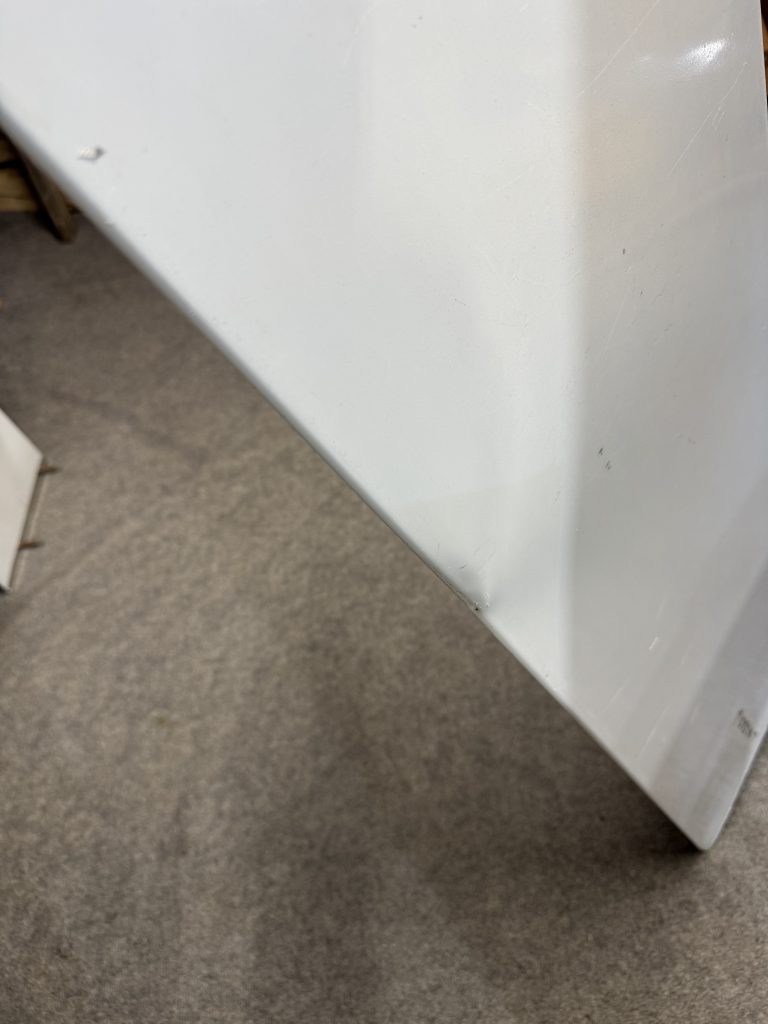
While thinking of ways I could save it, I dropped it on concrete and ruined the trailing edge. The decision of whether to repair or replace was made for me. I will buy another one from Sonex. This is a $200 USD part.
One of the aileron drive horns was assembled completely crooked. I took it apart and the drive plate can be saved, so I will only have to buy or make the ribs.
The other aileron drive was straight but the drive horn was slightly off, about 5/64″ at the attachment. I will ask Sonex if I can keep it, after Oshkosh. I’m pretty sure I can as long as I build both drive horns the same.
Both of the counterbalance mounts were put together incorrectly; the connecting clips were assembled in what seems to be a random fashion, and they do not clear the aileron skins. I should be able to save these simply by redoing the clips.
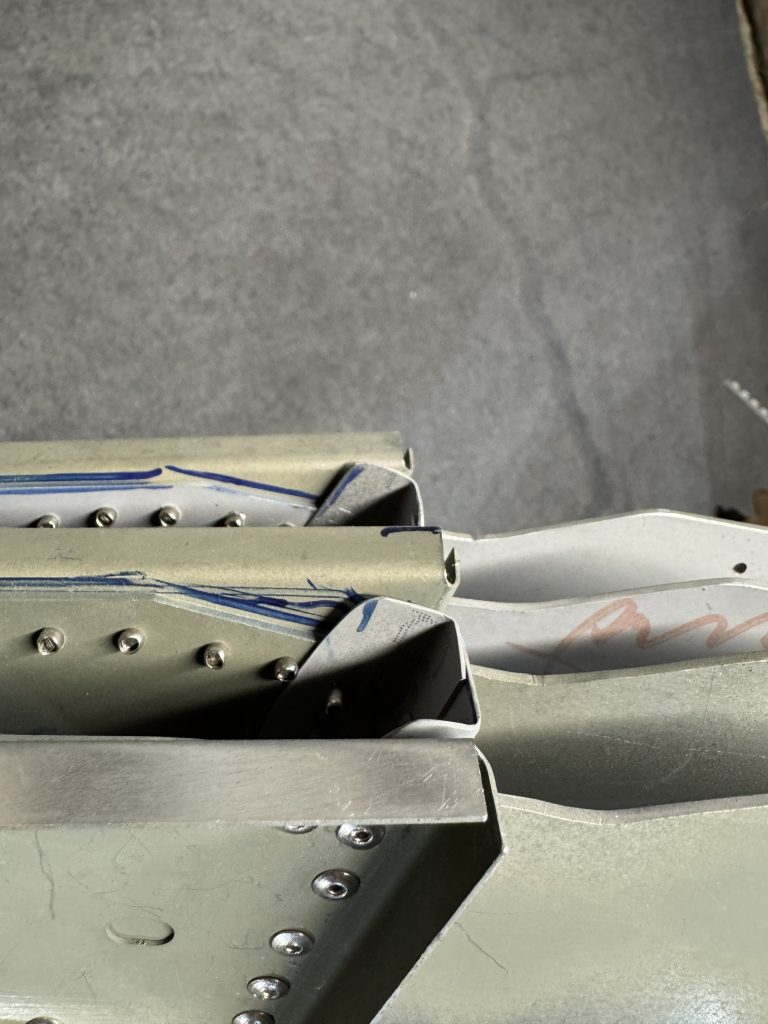
I was wrong again. The mount plates are supposed to be flush to the skin of the aileron and they are spaced well off. All of the ribs will have to be replaced. Since the drill holes on the mounts are also poorly drilled, I will just replace everything.
So I need parts for the ailerons and flaps, and several parts for the wings. I also need a couple of rivets for the elevators though they are mostly complete. The rudder, horizontal stabilizer, and vertical stabilizer are ready for the pre-cover inspection. That means I will be focusing my energy on the fuselage for the next little while.
-
Fuselage disassembly
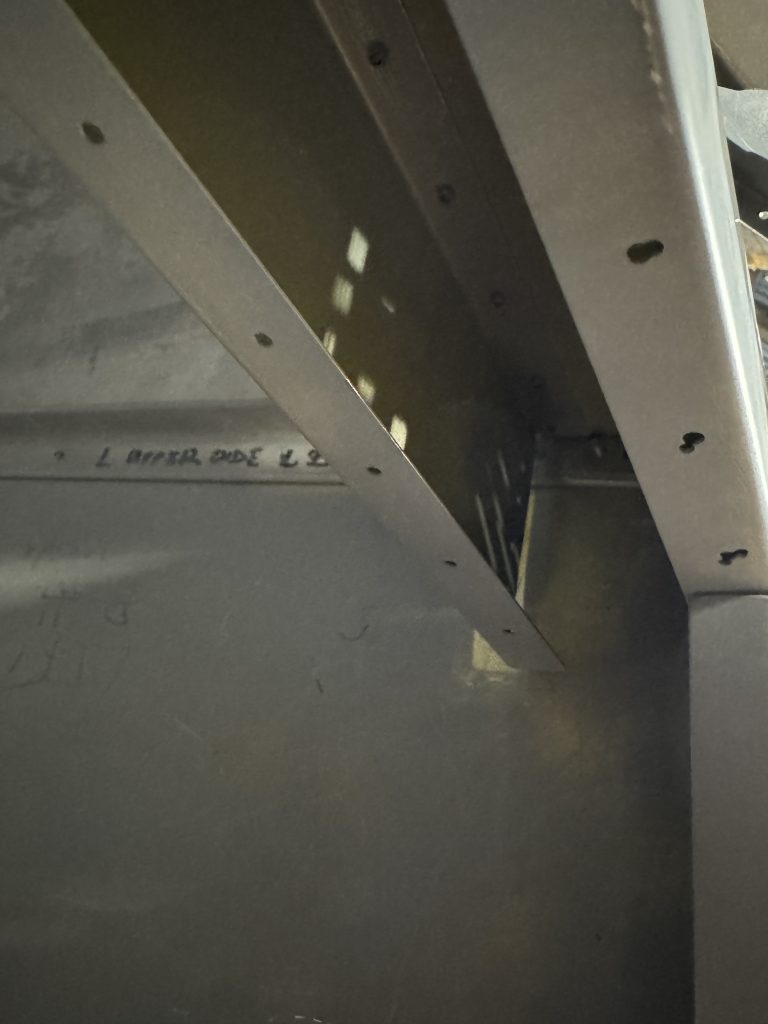
To fix the incorrect assembly of the side skins, to get at the poorly pulled rivet in the cross box, and to redo a few things in the front fuselage, the front of the fuselage had to be separated from the rear. It was not fully attached but as some of the rivets were poorly done they were a lot harder to remove.
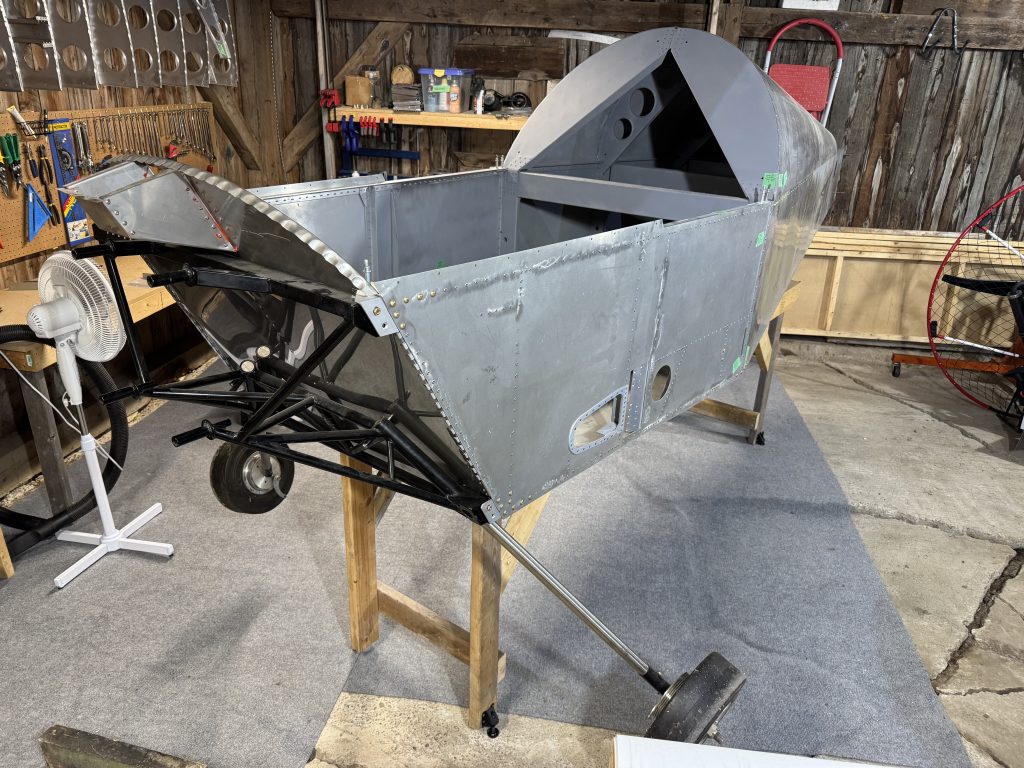
First, get the fuselage up on a worktable. I managed to do this by myself. 
Then remove the landing gear, which is held on with a single bolt and friction fit. 
Then the motor mount which was just pinned in place. 
then drill out a bunch of rivets and undo a few bolts. Hey presto. 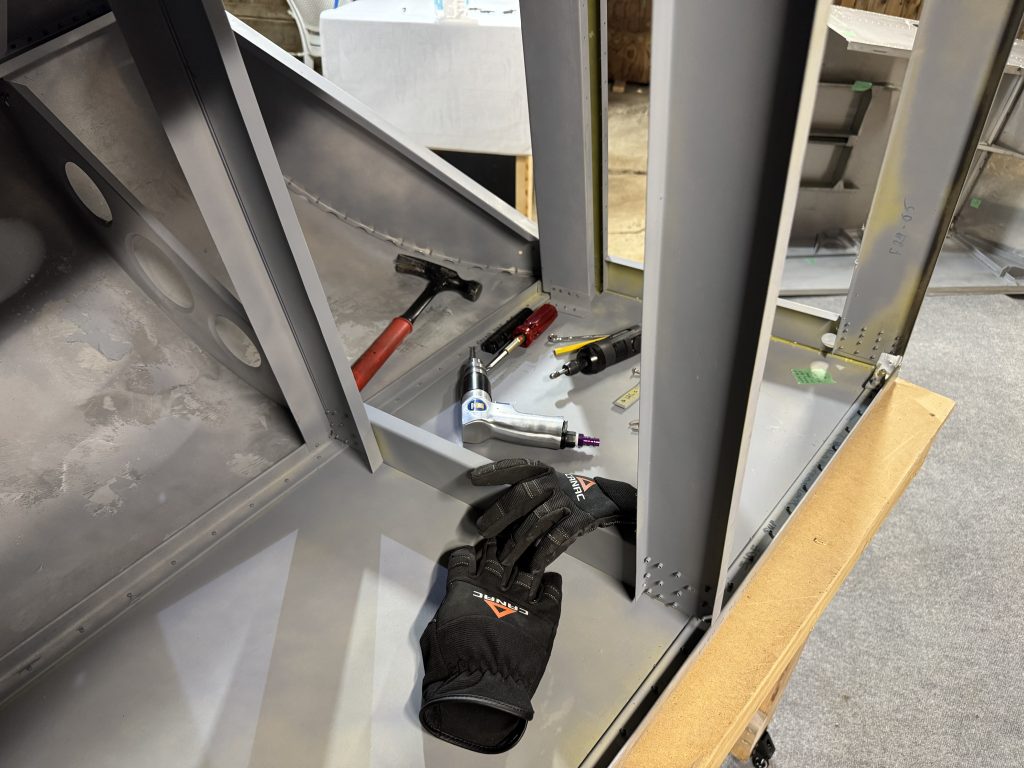
I had to take a lot more stuff apart than I expected. 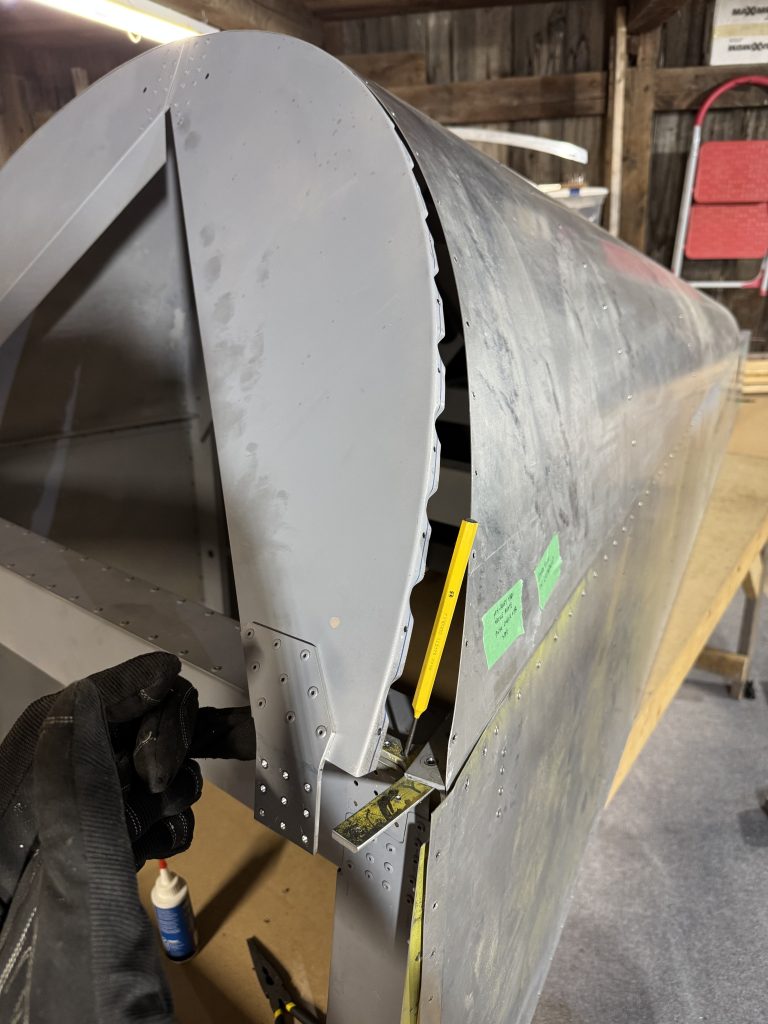
but I’m getting good at removing rivets. 
Finally, the culprit has been extracted. 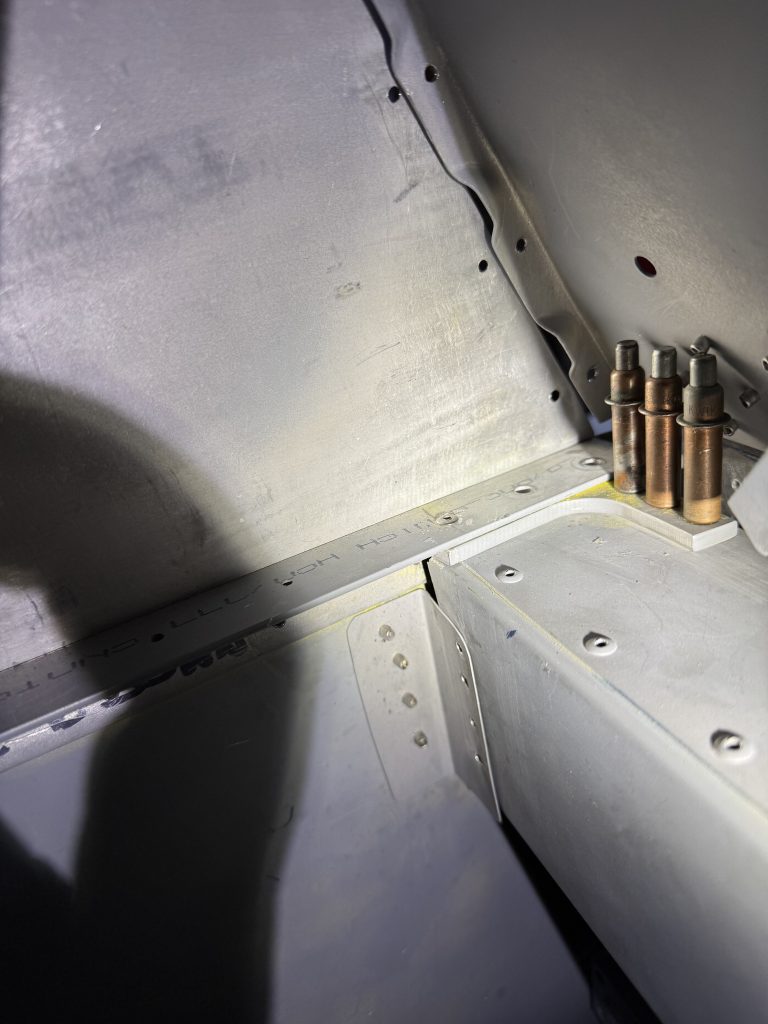
And, the new rivet correctly pulled. 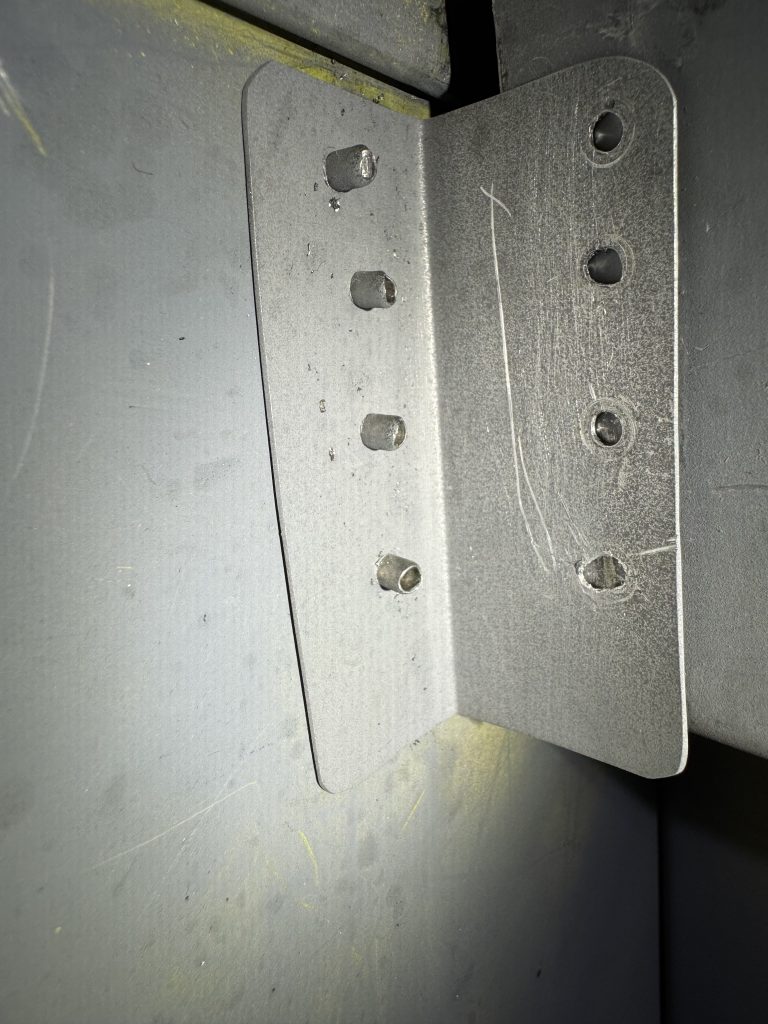
The reason the rivet mushroomed in the wrong place was the cross-box was spaced too far away from the longeron due to this clip being installed before the cross-box was spaced. I will remake this simple clip with the new alignment, although I am not sure how I will drill the rivet holes from inside the cross-box… 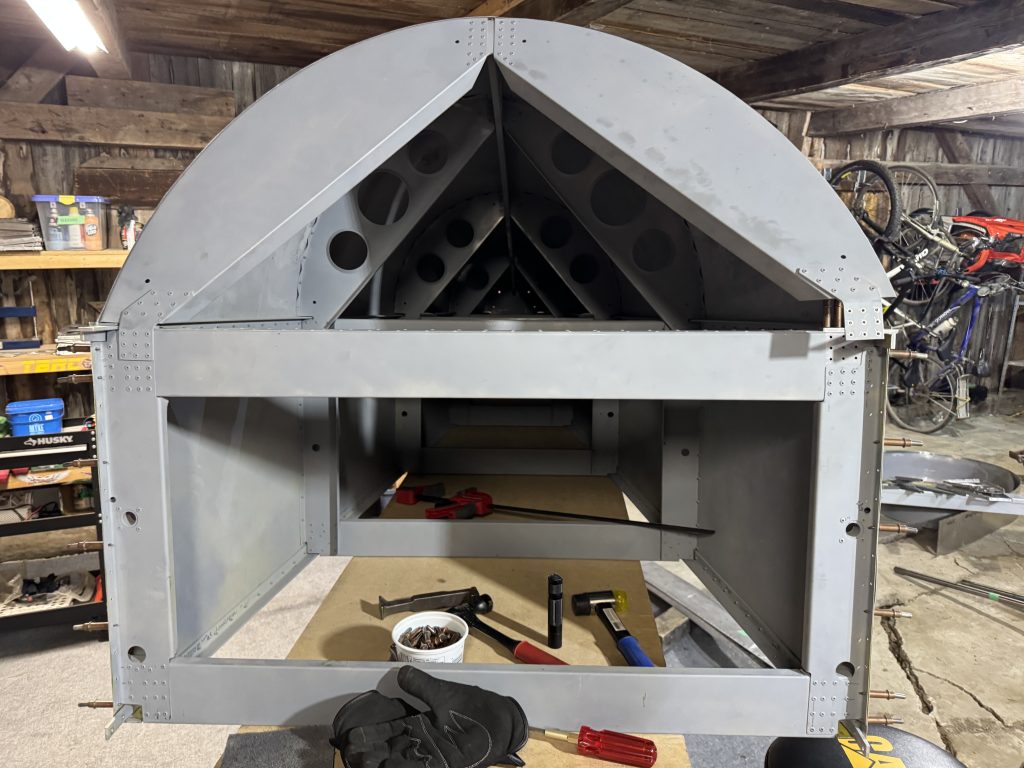
I am about 6-8 hours into this repair so far and there is still plenty left to do. Apparently this is what I wanted in a project. It does feel good to see the end result of the repair. However I still have to be very careful when undoing work as it’s easy to damage components, and they can be time-consuming and expensive to replace.
To redo the clip for the cross-box, I first tried marking or spraying paint from the inside to the outside, to mark the holes so I could drill them. This didn’t work as the inside of the box is too tight, so I had to think of something else.
Much too narrow to drill from the inside to the outside or to get a center-punch in there, or even a sharpie. I ended up using a clip from a failed attempt. I made a template out of it. By shining a light through the rear the holes appeared, and I marked them with a sharpie.
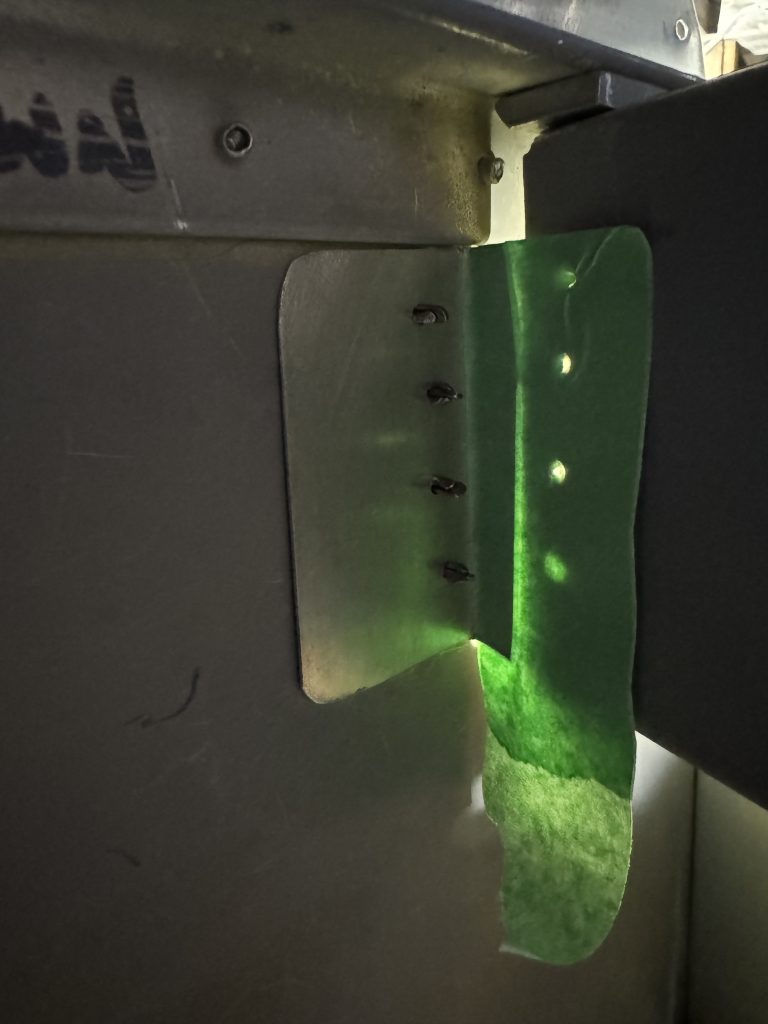
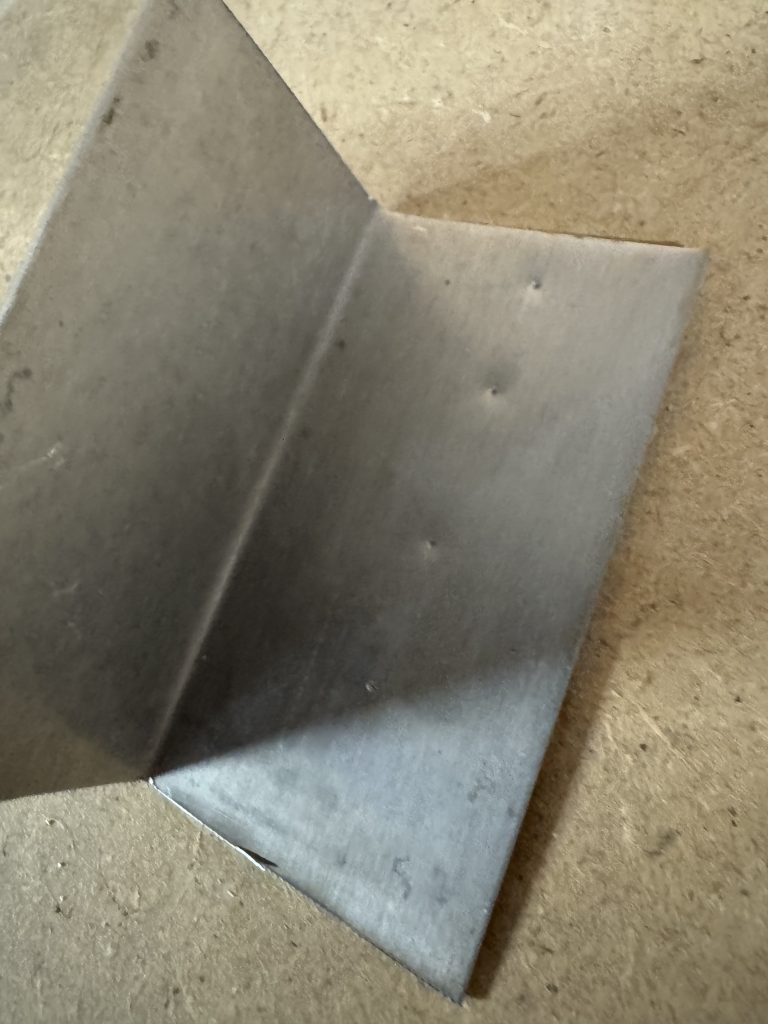
The template was used to center-punch another clip, with the punch spaced slightly to the inside to offset for the thickness of the metal. 
Success! My new clip fits. Once it is trimmed and finished it can be installed.
I started giving a thorough and methodical once-over to the remainder of the fuselage. The method is to start at base components and verify if they have been made and if they have been made well.
I wrote this post back in August and am posting it now as I returned to working full-time and started back at school. I’m hoping to spend some time on the airplane during the winter break and also bring it back into my daily routine next year.